How to Set Up Your First Fishing Rod and Reel Combo for Success
From box to water's edge: a complete beginner's guide to assembling your rod, mounting the reel, and rigging your line for success. You’ve got your new gear, and the excitement is real. But now you're faced with a box of parts. How do you set up a fishing rod and reel? For new anglers, this can seem daunting. Don't worry, it's much easier than it looks. This guide will walk you through a simple, step-by-step process. We will turn that collection of parts into a fish-catching machine. Let's get your ready for action.

Most spinning rods come in two pieces. Assembling them correctly is the first step. This ensures your rod performs as it was designed. A proper assembly is strong and straight.
Your rod has two parts. The thicker piece with the handle is the butt section. The thinner, longer piece is the tip section. The male end (ferrule) is on the tip section. It slides into the female end on the butt section.
Gently slide the two fishing rod sections together. Now, look down the rod from the handle to the tip. Rotate the tip section until all the line guides are perfectly aligned. A straight line of guides ensures your line flows freely. This maximizes casting distance and reduces wear.
Push the two sections together with a firm, twisting motion. The connection should be snug, but don't force it. A loose connection can cause the rod to twist or even break during a cast. A properly fitted rod feels like a single solid piece.
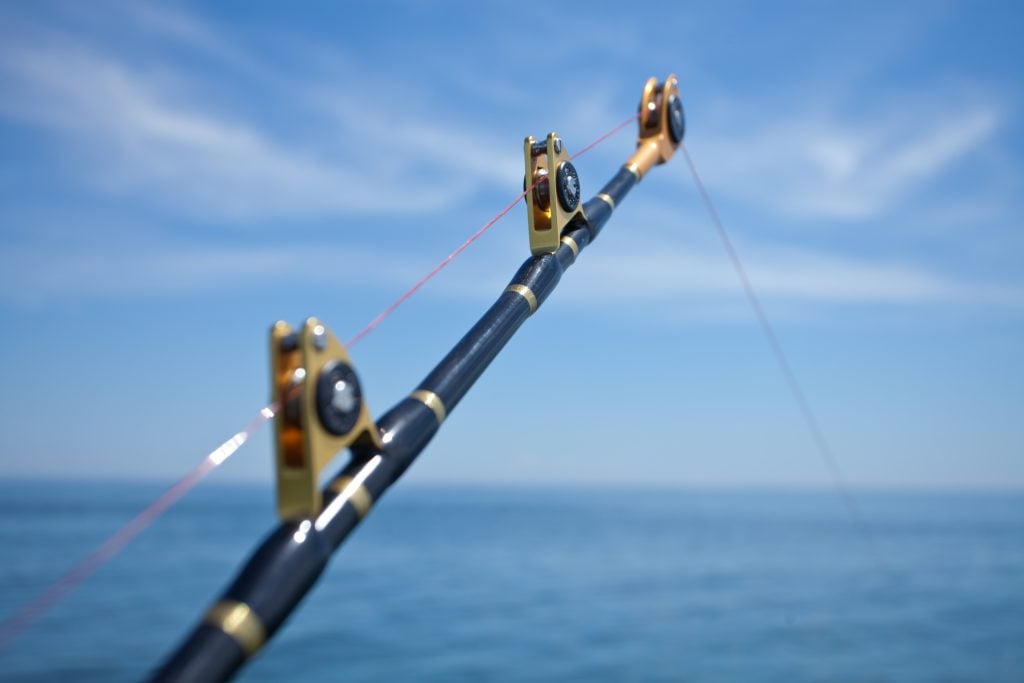
With the rod assembled, it's time for mounting the reel. The reel seat is the designated spot on the rod's handle. It's designed to hold your reel securely.
Find the grooved area on your rod handle. This is the reel seat. It will have one or two locking nuts that you can twist to open and close the seat. Loosen these nuts to create enough space for the reel foot.
Slide the reel foot into the reel seat. The reel foot is the part of the reel that connects to the rod. Make sure it is fully seated. Then, tighten the locking nuts firmly with your hand. The reel should not move or wobble at all. A secure reel is essential for a good fishing experience.
This is a common question. On a spinning rod, the reel hangs underneath the rod. The line guides will also be on the bottom side. This allows the line to flow smoothly off the spool during a cast.
Now that your rod and reel are one, it's time for spooling the reel. This step is critical for preventing tangles. A well-spooled reel casts farther and smoother.
The key to good spooling is tension. You must keep the line tight as you wind it onto the reel. Also, make sure the line comes off the new spool in the same direction that your reel's bail rotates. This simple trick prevents line twist. You want to fill the spool to about 1/8 inch from the edge.
Spooling line has many nuances. For a complete tutorial with diagrams, we highly recommend our full guide. It covers everything you need to know about .
Your reel is spooled. Now you need to get the line to the tip of the rod. This is a simple but important step for your fishing rod and reel setup.
Open the bail on your reel. Pull a few feet of line off the spool. Start threading the line through the rod guides. Begin with the largest guide near the reel (the stripper guide). Work your way up to the smallest guide at the rod's tip (the tip top).

Double-check your work. It's easy to accidentally miss one of the smaller guides near the tip. A missed guide will create friction and hurt your casting performance. It can also put uneven stress on your rod.
Here's a helpful threading tip. Fold the last inch of your line back on itself. Pinch the doubled line to create a stiffer point. This makes it much easier to poke through the small rod guides.
You are at the final step! It is time for tying on a lure or hook. This is where your connection to the fish is made. A strong knot is non-negotiable.

For beginners, we strongly recommend the Palomar knot. It is incredibly strong and very easy to learn. It works great with all types of line. This knot will give you confidence that your connection is secure.
Mastering a few key knots is a vital fishing skill. If you are unsure how to tie the Palomar knot, don't worry. We have a detailed guide with easy-to-follow diagrams. You can learn all about in our complete tutorial.
You did it! Your rod is assembled, the reel is mounted, and a lure is tied on. Before you cast, do one last check. Set your drag. The drag is a knob on your reel that controls line tension. A good starting point is to pull line from the rod tip. It should come out smoothly with moderate resistance.
You are ready to cast. This complete is your ticket to a world of adventure.
Do you remember setting up your first fishing rod? Share your story in the comments below!
A good starting point is to set the drag to about 25% of your line's breaking strength. For 8lb line, that's about 2lbs of pressure. You can test this by tying your line to a small weight or simply pulling it by hand. It should pull out smoothly, without being too easy or too hard.
Don't worry, it's an easy fix! Simply loosen the locking nuts on the reel seat completely. Slide the reel foot out. Flip the reel 180 degrees so it hangs underneath the rod, and then re-tighten the nuts.
Leave about 6 to 12 inches of line between your rod tip and your lure. This is a good length for making a controlled and accurate cast. Too little line makes casting difficult, while too much can get tangled.
This is a common problem. First, try gripping each section with a rubber jar opener for better traction. If that fails, have a friend help. Stand facing each other, grab the rod on opposite sides of the connection, and pull straight apart without twisting. Gentle, steady pressure is key. Finding the right is just the start; knowing how to care for it is just as important.

Tired of overpaying for leader line? Our FTK Fluorocarbon Review dives into the performance of this budget-friendl...

Frustrated by tangled lures and messy gear? This guide reveals the pro secrets of tackle management. Learn h...

Stuck on suspended fish? When bass won't hold to the bottom or the surface, the jerkbait is your best weapon...

No boat? No problem! Pier fishing is the most accessible way to start your saltwater journey. This beginner'...

Is your fishing line brittle, coiled, or frayed? Old line is the #1 cause of lost trophy fish. This guide re...

Want to catch more "slabs"? This ultimate guide to crappie fishing covers everything from seasonal migration...